Lesser honeyguide, Indicator minor, visits
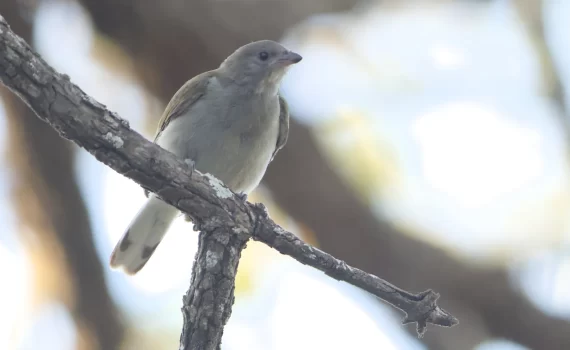
Seems like spring has sprung with all the bird activity of the last week or so. Managed to […]

Posts related to SCUBA diving, underwater photography, and marine life including life in the intertidal zones.
Diving, underwater and intertidal
I am passionate about the natural world, as an observer, a researcher and a photographer. Follow the link for my categories related to the natural world.
Natural world
If humans are to be successful as a species, we have to be more sceptical, and learn to think more critically about the things we believe in and the actions we take based on those beliefs. Critical thinking is an alternative to belief without reason, ...
Critical thinking Seems like spring has sprung with all the bird activity of the last week or so. Managed to […]

For those of you making use of Chat GPT, please bear in mind that you cannot rely on […]
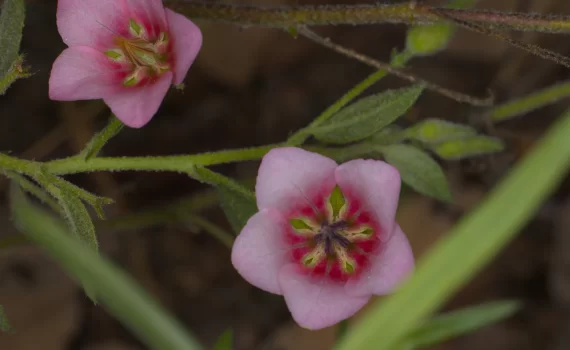
Hermannia glanduligera, known as ‘the sticky-bell-flower’ is flowering around the Hoedspruit area at the moment, in early winter […]
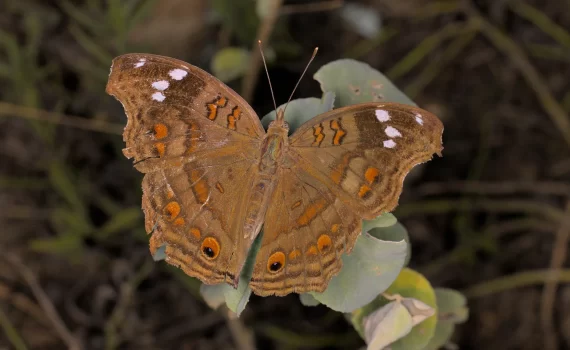
In the last post I showed the dark blue pansy, Junonia oenone oenone. Here I am showing another Junonia […]
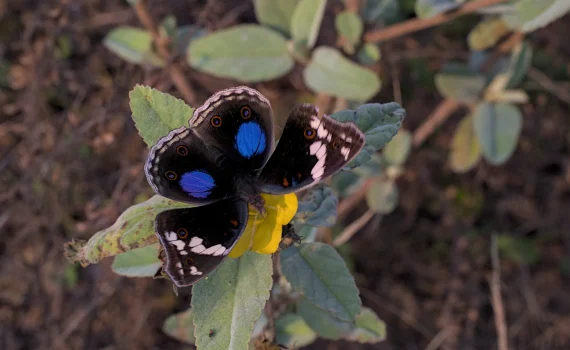
This is a dark blue pansy, Junonia oenone oenone, at Hoedspruit, Limpopo, South Africa yesterday afternoon. I have […]
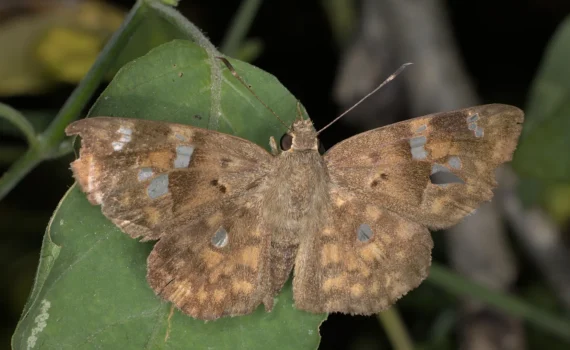
My last attempt at finding Sarangesa motozi turned out to be Abantis pillaana (ragged skipper) . This is […]
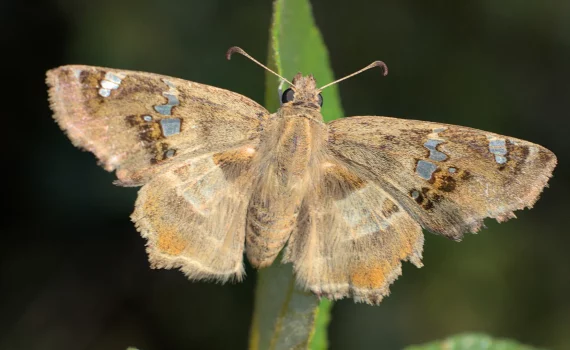
A couple of days ago I found a ragged skipper (Abantis pillaana, formerly Caprona pillaana and still listed […]
I recently got myself a Canon RF 100mm macro lens and an adapter to fit my old ring […]
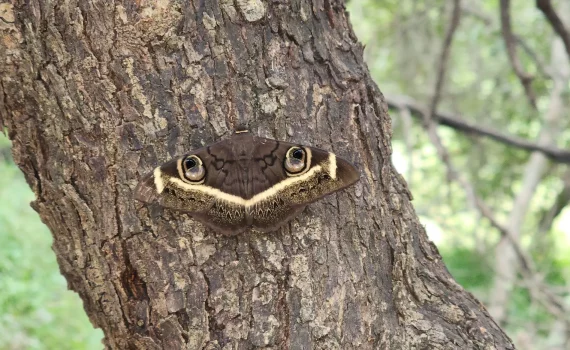
This is a cream-striped owl ooth (Cyligramma latona) at Raptors View Wildlife Estate, Limpopo, South Africa. The larvae […]
f I wrote the 10 commandments, they would be something like this, without any of that god, jealousy […]
Belief in god(s), organised religion, belief in the hazards of 5G, belief that Covid-19 is a hoax, belief […]
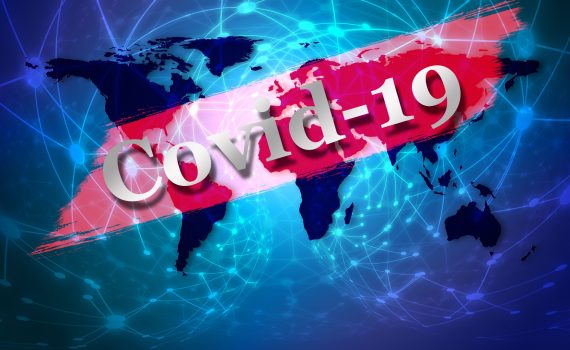
The image below shows the COVID-19 stats for Thailand. This is what it means to have a responsible […]
I have not written anything for this site for a long time, but today I feel I have […]
Thirty years ago today, we were having a braai at the house of the then Chief Justice of […]
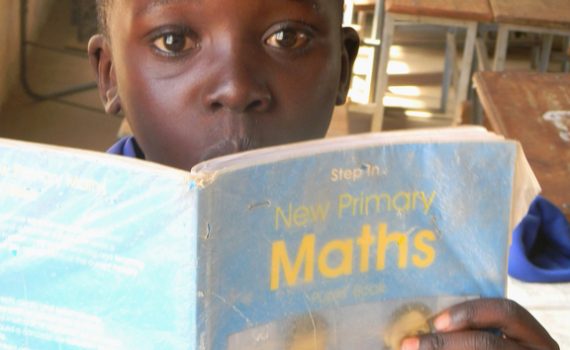
Everyone is talking about STEM (Science, Technology, Engineering and Mathematics) these days in South Africa. For sure it […]
H5P is a really cool HTML 5 content creation platform that allows some really complex things to be […]
I love GNU/Linux. I have used GNU/Linux since 1999 and exclusively since 2001. I have used Ubuntu since the […]
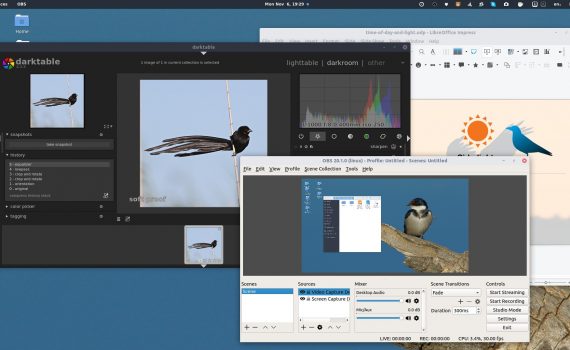
This morning I was playing around in DarkTable, improving my skills at using its awesome capability. I used a […]
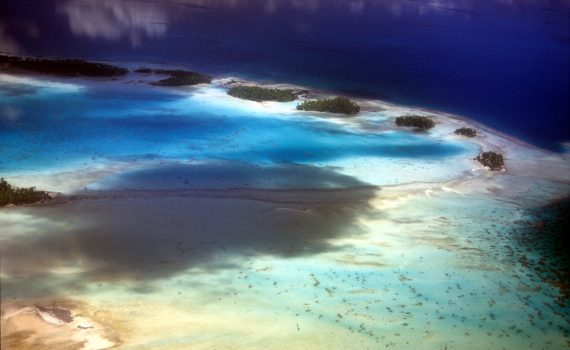
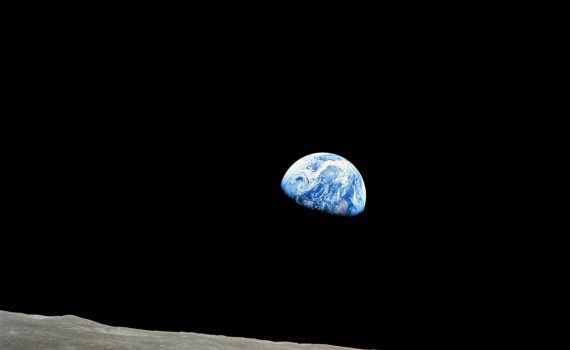
Arthur C. Clarke wrote “How inappropriate to call this planet ‘Earth’ when it is quite clearly ‘Ocean’.” I […]

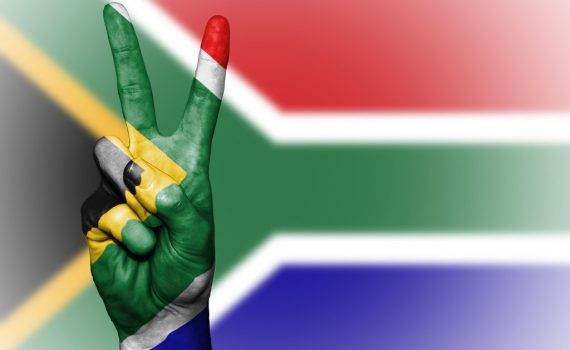
South Africa is slowly starting to emerge from under a purulent pile of corruption. Corrupt practices go way […]
The South Africa of today is not the South Africa the liberation struggle founders envisaged. It is not […]